
But check out this card!! What about making this into a 3x3 card and using as a place card?
Also - Teeny Tiny Wishes stamp set. This is a MUST have. Sentiments for almost every occasion! And there are 24 stamps in this set.
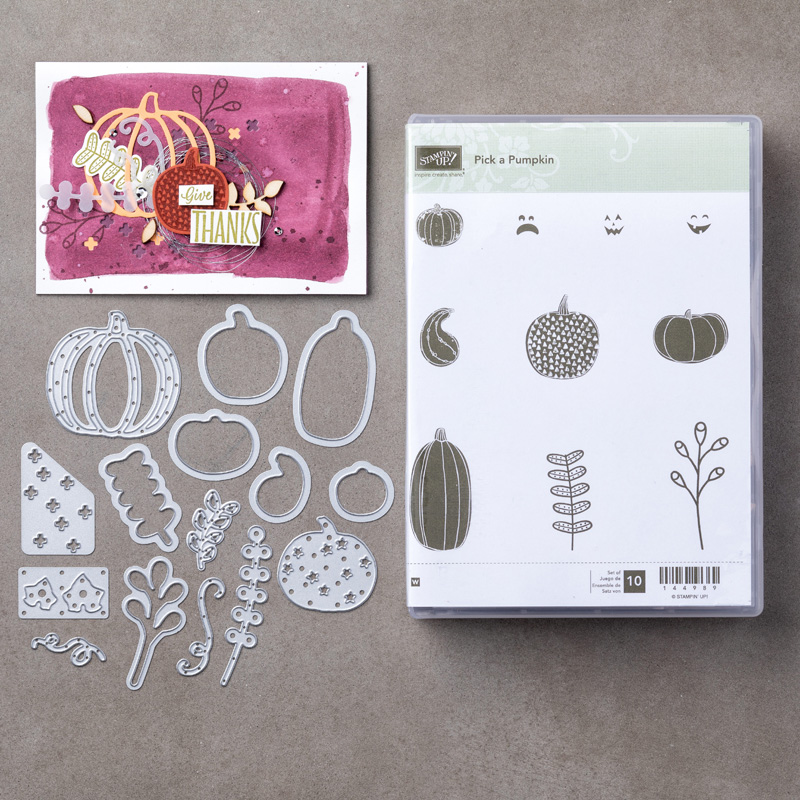
If you prefer the wood mount - that's about $1.50 ish per stamp. If you love the clear mount - that's about $1.12 ish per stamp. It's a great deal and oh so versatile!

Supplies:
- Stamp Sets - Pick A Pumpkin Bundle (wood 146024, clear 146025); Teeny Tiny Wishes (wood 128748. clear 127802)
- Card Stock – Crumb Cake (120953), Whisper White (100730)
- Stamp Pads – Crumb Cake (126975), VersaMark (102283)
- Misc. – Big Shot (143263), Copper Foil Sheets (142020); Year of Cheer Specialty Washi Tape (144644), Embossing Buddy (103083); Copper Stampin’ Emboss Powder (141636); Heat Tool (129053); 5/8” Burlap Ribbon (141487); Mini Glue Dots (103683); Mini Dimensionals (144108)
Measurements:
- Whisper White (base): 5 ½” x 8 ½”, folded in half
- Whisper White (banner): 1 3/8” x 2 ¼”
- Crumb Cake (strip): 1” x 5 ½”
- Crumb Cake: 4” x 5”
- Copper Foil: 3” x 3”
- Burlap Ribbon: 16”
Instructions:
- Layer three different sizes and patterns of the Year of Cheer Specialty Washi Tape approximately 2” from the bottom of the card as shown.
- Stamp the fern image using Crumb Cake ink on the Crumb Cake cardstock strip, lining up one image above the next as shown. Adhere the cardstock to the far right side of the Whisper White cardstock base.
- Pat the Embossing Buddy on the Whisper White banner cardstock. Stamp “Happy Thanksgiving” from the Teeny Tiny Wishes stamp set using Versamark ink. Sprinkle the greeting with the Copper Stampin’ Emboss Powder and heat set using the Heat Tool. Cut a banner tip on the left side of the cardstock. Adhere below the last layer of Washi Tape as shown.
- Die cut the filigree pumpkin from the Copper Foil using the Thinlits that are part of this bundle.
- Stamp various ferns and springs using Crumb Cake ink on the Crumb Cake 4” x 5” piece of cardstock. Die cut the images using the coordinating Thinlits.
- Adhere the ferns and springs in an overlapping cluster to the right edge of the Washi Tape using a combination of Glue Dots and Mini Dimensionals.
- Intertwine the copper pumpkin between some of the ferns and springs. Tuck a few Glue Dots in areas behind the pumpkin that will not be visible from the front to secure it in place. You only need a few.
- Pull out three strands from the Burlap Ribbon. Holding two strands together, wrap them around three fingers. Gently slide them off, pinching in the center. Wrap the third strand around the center of the loops several times then tie in a knot to secure. Adhere to the base of the pumpkin using a Glue Dot.
Product List


 Burlap Ribbon")


No comments:
Post a Comment